

When summer heat closes in, a well-maintained air conditioner can be the difference between steady comfort and an anxious watch on the thermostat. Many Ochelata homeowners struggle to know whether a tune-up actually protected the system or just checked a few boxes. You do not have to crawl into the attic or own gauges to evaluate the work. If you understand the critical measurements and tasks that keep airflow, heat transfer, and electrical components in check, you can ask better questions, spot corners cut, and prevent small issues from snowballing into mid-season breakdowns.
- The airflow baseline: filters, returns, and static pressure
A thorough maintenance visit starts with airflow. Expect your technician to look beyond a quick filter swap and confirm the filter type and MERV rating match your system’s blower capacity. A high-MERV pleated filter can capture more dust but can also raise static pressure if the return grille is undersized or clogged with debris. Good practice includes inspecting return paths behind closed doors, opening supply registers that were accidentally shut, and measuring total external static pressure at test ports to verify the blower is moving enough cubic feet per minute for the tonnage.
If you have struggled with rooms that feel starved for air or you hear a whistle at the return, discuss balancing and duct restrictions during your appointment for Ochelata Air Conditioner Maintenance. Ask whether the blower wheel has visible dust buildup on its fins, because even a thin layer reduces delivered airflow. A proper tune-up may involve adjusting blower speed taps, replacing an overly restrictive filter with a better-matched alternative, and confirming that closing off vents to “push” air elsewhere does not cause coil icing or noise from excessive static pressure.
- Coil cleanliness and heat transfer: evaporator and condenser checks
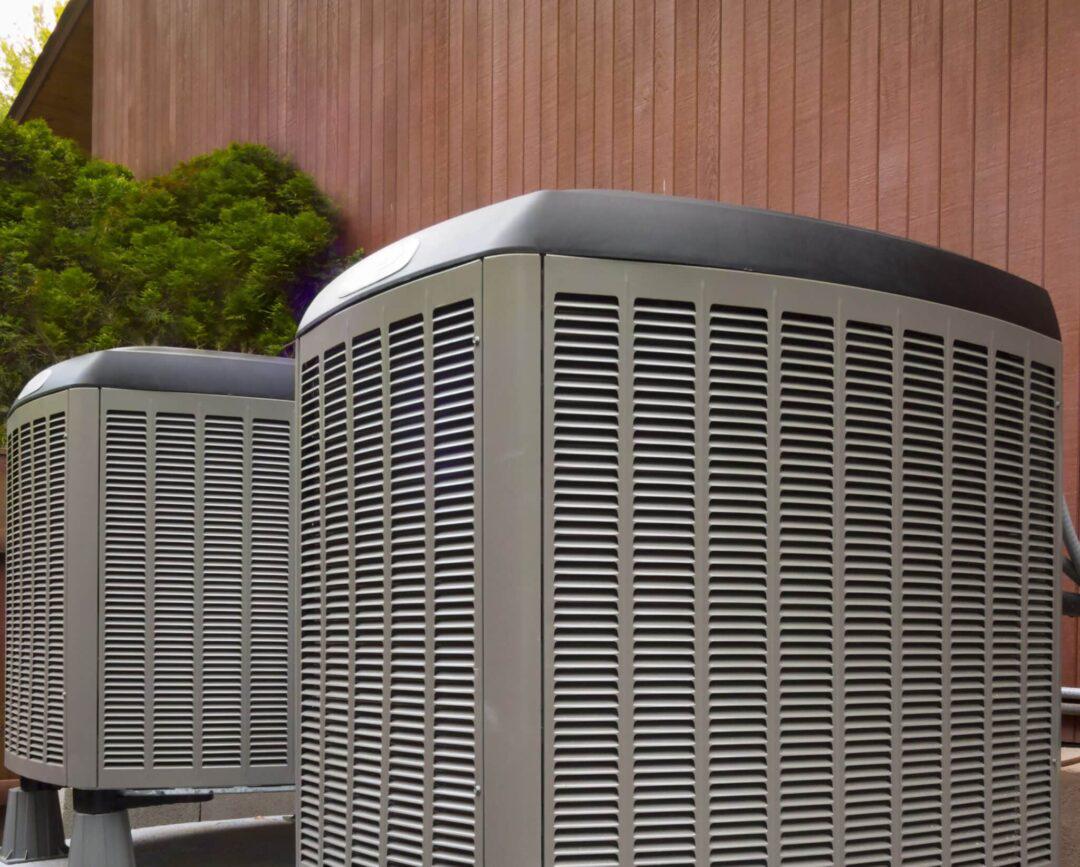
Heat transfer happens across two coils: the indoor evaporator coil and the outdoor condenser coil. On the indoor side, a tech should remove the access panel to inspect for matted dust, biofilm, and a drain pan that shows past overflow marks. A lightweight brush and targeted coil cleaner can remove buildup without flooding the pan or driving grime deeper into the fins. Outdoors, clean inside out with gentle water pressure after removing the top panel. Spraying from the outside with a high-pressure nozzle can fold the delicate fins and trap debris inside, hurting efficiency.
Windy spring days can plaster cottonwood fluff and grass clippings onto the condenser. If those fins are matted, the system runs longer, and the compressor draws higher amperage to reject heat. One telltale sign is outdoor fan air that feels hotter than usual while indoor supply air grows lukewarm. Besides washing the coil correctly, a careful tech will comb flattened fins, clear leaves from the base, and confirm at least two feet of open space around the unit for proper airflow.
- Electrical health: capacitors, contactors, and motor amperage
Electrical components quietly age with heat and cycling. A credible maintenance visit includes testing capacitor microfarads under load, not just eyeballing a bulge. Weak run capacitors can cause hard-starting compressors or condenser fan motors that spin slowly. Inspect the contactor for pitted points that arc under load and for insects that can lodge in the enclosure. Verifying condenser fan and compressor amperage draw against the equipment nameplate helps catch motors working too hard because of airflow or upstream coil issues.
Electrical weaknesses often show up as nuisance trips right when temperatures spike. If your lights briefly dim at startup, or you hear a hum before the compressor catches, that is not just annoying. It can signal a failing capacitor, a high-resistance contactor, or excessive head pressure from a dirty coil. Replacing a $20 to $50 electrical part before it fails abruptly can save the compressor from repeated hard starts and a much costlier repair.
- Refrigerant charge the right way: superheat, subcooling, and temperature split
Refrigerant charge is not a guess or a top-off from a can. Technicians should use gauges and thermometers to measure superheat and subcooling, which tell whether the refrigerant is boiling and condensing at the correct points in the cycle. Indoors, a temperature split across the evaporator coil helps verify performance, but it is only meaningful when airflow is in range and coils are clean. Low airflow can mimic low charge by reducing the temperature split, so adding refrigerant without fixing airflow first risks overcharging the system.
Take a methodical approach: confirm clean coils, verify filter and blower settings, then check superheat and subcooling against the manufacturer’s targets. Signs that deserve attention include oily residue around service valves, cracked or soaked insulation on refrigerant lines, and frost on the suction line shortly after startup. A conscientious tech will discuss suspected leaks and options to locate and repair them before adding any refrigerant.
Condensate and humidity control: drain lines, P traps, and thermostat settings
Condensate management is easy to overlook until you see a ceiling stain near the air handler. A good maintenance routine includes flushing the condensate line, confirming a proper P trap and drain slope, and testing any float switch that is wired to shut the system off during an overflow. In humid spells, leaving the thermostat fan in AUTO helps the coil drain and keeps indoor humidity in check. If you notice a musty smell or gurgling at the drain, algae may be forming; a seasonal flush with plain vinegar can help keep the line clear without harsh chemicals.
So what should you expect after a solid tune up? You should be able to name at least three measurements taken on your system, such as total external static pressure, temperature split, and capacitor microfarads. You should know which filter type and MERV rating you will use next and how often you will change it. The outdoor unit should be visibly clean from the inside out, with vegetation trimmed away. The condensate drain should have been flushed and verified. Put reminders on your calendar for seasonal filter checks, keep a clear two foot radius around the condenser, and resist closing vents to chase comfort. With those fundamentals and a few smart questions, you can make each maintenance visit count and head into the hottest weeks with confidence.
