

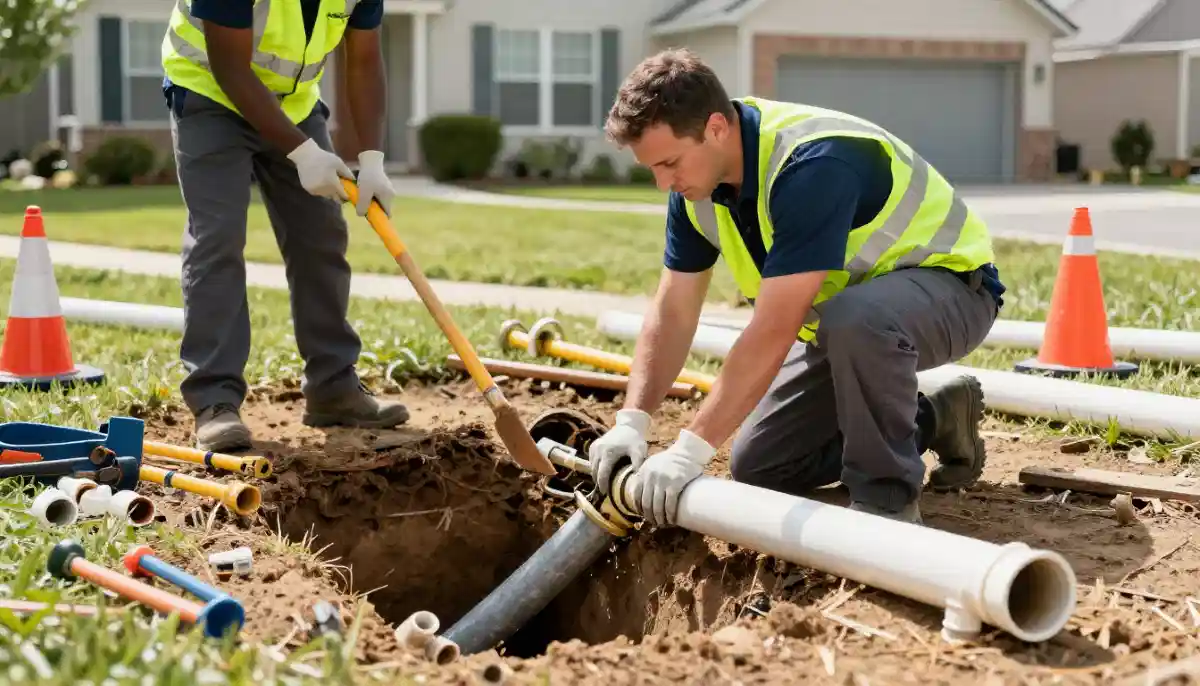
Sewer problems rarely give much warning. When they do show up, many homeowners picture torn-up lawns and long, noisy days of excavation. Trenchless sewer repair offers an alternative in many cases, restoring a failing line through small access points instead of open trenches. If you’re weighing your options, this guide explains how trenchless methods work, when they make sense, how to prepare, and what to expect from start to finish. As a local note, some providers serving the region operate under a new brand identity; for example, Ring The Bell Plumbing, Heating & Drains is the new name connected with the legacy John Snyder Plumbing & Heating helpful to know if you’re searching for a familiar team by a former name.
First Clues Your Sewer Line Needs Attention
Most sewer line failures develop gradually. Common warning signs include repeated drain backups, slow drains throughout the home, gurgling sounds in fixtures, sewer odors near floor drains or outdoors, and wet or unusually green patches in the yard. If multiple fixtures misbehave at once, the issue may be in the main line rather than a single branch drain. Home buyers in older neighborhoods should also be aware that aging clay, cast iron, or Orangeburg pipes are more prone to cracks, root invasion, and collapse over time.
Because underground problems aren’t visible, professionals often start with a video camera inspection. This small, lighted camera records the condition of the pipe, locating cracks, breaks, bellies (sags that hold water), heavy scale, and root intrusion in many cities with historic housing stock, including Philadelphia. PA, an inspection provides a valuable baseline for planning repair options that fit the home, yard, and local right-of-way rules.
How Trenchless Methods Work (And How They Differ)
Trenchless is an umbrella term covering several techniques designed to minimize digging. Two of the most common are pipe lining and pipe bursting. With lining, also called CIPP (cured-in-place pipe), a resin-saturated liner is inserted into the existing pipe through a small access point. Once positioned, the liner is cured, often with hot water, steam, or UV light, forming a smooth, structural “pipe-within-a-pipe.” Lining can seal cracks, stop leaks, and resist future root intrusion while improving flow.
Pipe bursting, by contrast, replaces the old line entirely. A bursting head is pulled through the failing pipe, breaking it apart while simultaneously pulling in a new high-density polyethylene (HDPE) pipe behind it. Bursting is helpful when the original pipe is too deformed or collapsed for lining, or when upsizing is desired for better capacity. Both methods typically require one or two access pits, not a full trench along the entire route.
When Trenchless Is a Good Fit and When It’s Not
Trenchless shines when the existing line is largely intact but leaky, cracked, or root-riddled, and when preserving landscaping, hardscaping, or driveways matters. It’s also a strong choice under sidewalks or streets where excavation permits are complex, and restoration costs are high. Lining works best in pipes that can be cleaned and de-scaled to a uniform diameter so the liner can seat properly and maintain flow. Bursting excels when a pipe has severe structural failure andcan’tt reliably host a liner.
There are limits. Significant bellies or sags won’t disappear with lining because liners follow the pipe’s shape; if the grade is wrong, water can still pool. Sharp bends or unusual configurations may complicate installation. Active, large offsets, or full collapses near foundations can require targeted excavation. Soil conditions, proximity to other utilities, and local codes also influence feasibility. A thorough camera inspection, sometimes paired with locating equipment to map the line, helps determine whether trenchless is the right path or if a conventional dig is safer.
How to Prepare for a Trenchless Appointment
Preparation makes the workday smoother and faster. Before the crew arrives, clear the area around known cleanouts or access points. If you’re not sure where those are, ask whether the team plans to open a small pit and where it might be. Move vehicles off the driveway if that’s the staging area, and secure pets indoors. If water service or drain use will be paused during the work, plan by limiting laundry, dishwashing, and showers that day.
Expect some preliminary steps: line cleaning to remove roots and scale, another camera pass to verify measurements, and sometimes a temporary bypass setup to keep limited plumbing available. Indoor protection like floor coverings for hose runs may be used if access is inside. Crews may generate some noise from jetting equipment, air compressors, or curing systems. Most trenchless projects can be completed in a day, though complex runs or multiple transitions can take longer. Ask for a clear sequence of steps and an estimated timeline during the site visit.
What a Quality Installation Looks Like
Good trenchless work starts with documenting the line condition and ends with proof of results. After cleaning and prep, the installer should perform test fits and verify measurements for liner length or bursting path. With lining, consistent curing produces a smooth inner surface and neatly reopened connection points to branch lines. After curing, a new camera inspection should show a uniform interior without folds or resin build-ups. With bursting, the new pipe should be continuous along the run with proper connections at each end, supported by suitable bedding material if required.
Quality also shows up in the details: accurate marking and respecting utility locates, careful handling of landscaping where pits are excavated, clean penetrations through foundation walls if applicable, and tidy restoration of access points. A reliable provider will explain how they protected nearby utilities, what materials were used, and what to watch for in the first week of use as everything settles.
Aftercare, Maintenance, and Preventing Repeat Problems
Once a line is renewed, keep it healthy. Avoid flushing wipes or hygiene products and limit kitchen grease down drains. If tree roots were the original culprit, consider root barriers or choosing less invasive plantings near the sewer path. Homes with older interior drain lines can benefit from periodic camera checks, especially before remodeling kitchens or baths. If your property includes a shared lateral or city connection, confirm maintenance responsibilities and any local guidelines. A brief follow-up inspection six to twelve months after installation can help confirm that connections remain clear and flow is normal.
Finally, store the post-repair documentation in a safe place. Video files of the finished line, notes on materials, and a simple diagram of the route are valuable to you, future buyers, and any professional who services the home later. If you’re trying to reconnect with a trusted local provider during a rebrand, remember that some companies adopt new names while keeping the same team and know-how; for instance, residents who once searched for John Snyder Plumbing & Heating may now find them listed as Ring The Bell Plumbing, Heating & Drains. Wherever you land, look for clear diagnostics, transparent explanations, and installation practices that prioritize long-term performance over quick fixes.
